Cold frames and low tunnels for extra weeks of season
What cold frames, low tunnels and row covers really buy: the degrees, the weeks, and the venting chore that decides everything. Plus what to grow under each.
For a frame - a box and a clear lid; old windows and scrap boards have built thousands
For a tunnel - row-cover fabric or clear poly, and stiff wire bent into hoops
The discipline to open things on sunny mornings - venting is the whole job
A cold frame or a low tunnel buys you real weeks, roughly three to eight split across the two ends of the season, by trapping the sun’s heat in a small volume around your plants. None of these structures creates a new climate. They bend the two rules your schedule already runs on, and it pays to see which ones:
Cold-hardy annuals can be sown or transplanted before the last spring frost (hardy crops about three weeks before, half-hardy about two weeks before). Tender crops wait for the frost itself.
If you skip this, it still grows, just less well. The planner suggests it.
How it works: Cold hardiness. Hardy crops tolerate hard frost and half-hardy crops tolerate light frost, so they can occupy the ground weeks before frost-tender crops are allowed in. The offset is measured from the last spring frost.
Evidence: checked against 2 sources in the research-based literature.
A warm-season bean germinates from warm soil, whatever the calendar says. Sown into cold ground it rots or emerges weak, even after the frost has passed.
If you skip this, it still grows, just less well. The planner suggests it.
How it works: Warm-season legumes take up water fast at sowing (imbibition), and in cold soil that first rush of cold water injures the seed tissue before the seedling can establish (imbibitional chilling), so the seed rots or comes up damaged. Soil below about 15 °C (60 °F) at sowing depth is where this bites, and the frost-free date can arrive weeks before the soil is that warm.
Evidence: checked against 2 sources in the research-based literature.
Bean seed planted in cold soil may rot rather than germinate, and plant growth will be very slow in cooler weather
Remedy
Wait for the soil to warm to about 15 °C (60 °F) at sowing depth, which a soil thermometer reads in a minute, or start the beans in warm cells and set them out. Peas are the opposite and are out of scope here. Half-hardy, they germinate in cold soil and are sown early on purpose.
A cover moves both lines a little. It takes the edge off frost for the hardy things sown early, and it warms the soil a warm-season seed is waiting for. That’s all the physics there is. Everything below is different amounts of it at different prices.
What does a season extender buy me?
Here are the extension numbers, so you can size the promise before you build anything:
A floating row cover keeps plants five to ten degrees Fahrenheit warmer and protects down to about -2°C28°F. The row covers guide covers the fabric itself.
A cloche or hot cap over a single plant adds three to four weeks in spring. It’s the classic head start for a tomato or pepper set out ambitiously early.
A slitted poly low tunnel raises daytime temperatures by ten to thirty degrees and buys one to four degrees of frost protection at night.
A walk-in hoop house extends the season by six to eight weeks, and it’s no longer a weekend project.
Look at the day/night gap in that tunnel line. Covers are much better at collecting daytime heat than at holding it through a cold night. The weeks they buy are real, but a February garden is not on offer.
Which one should I build first?
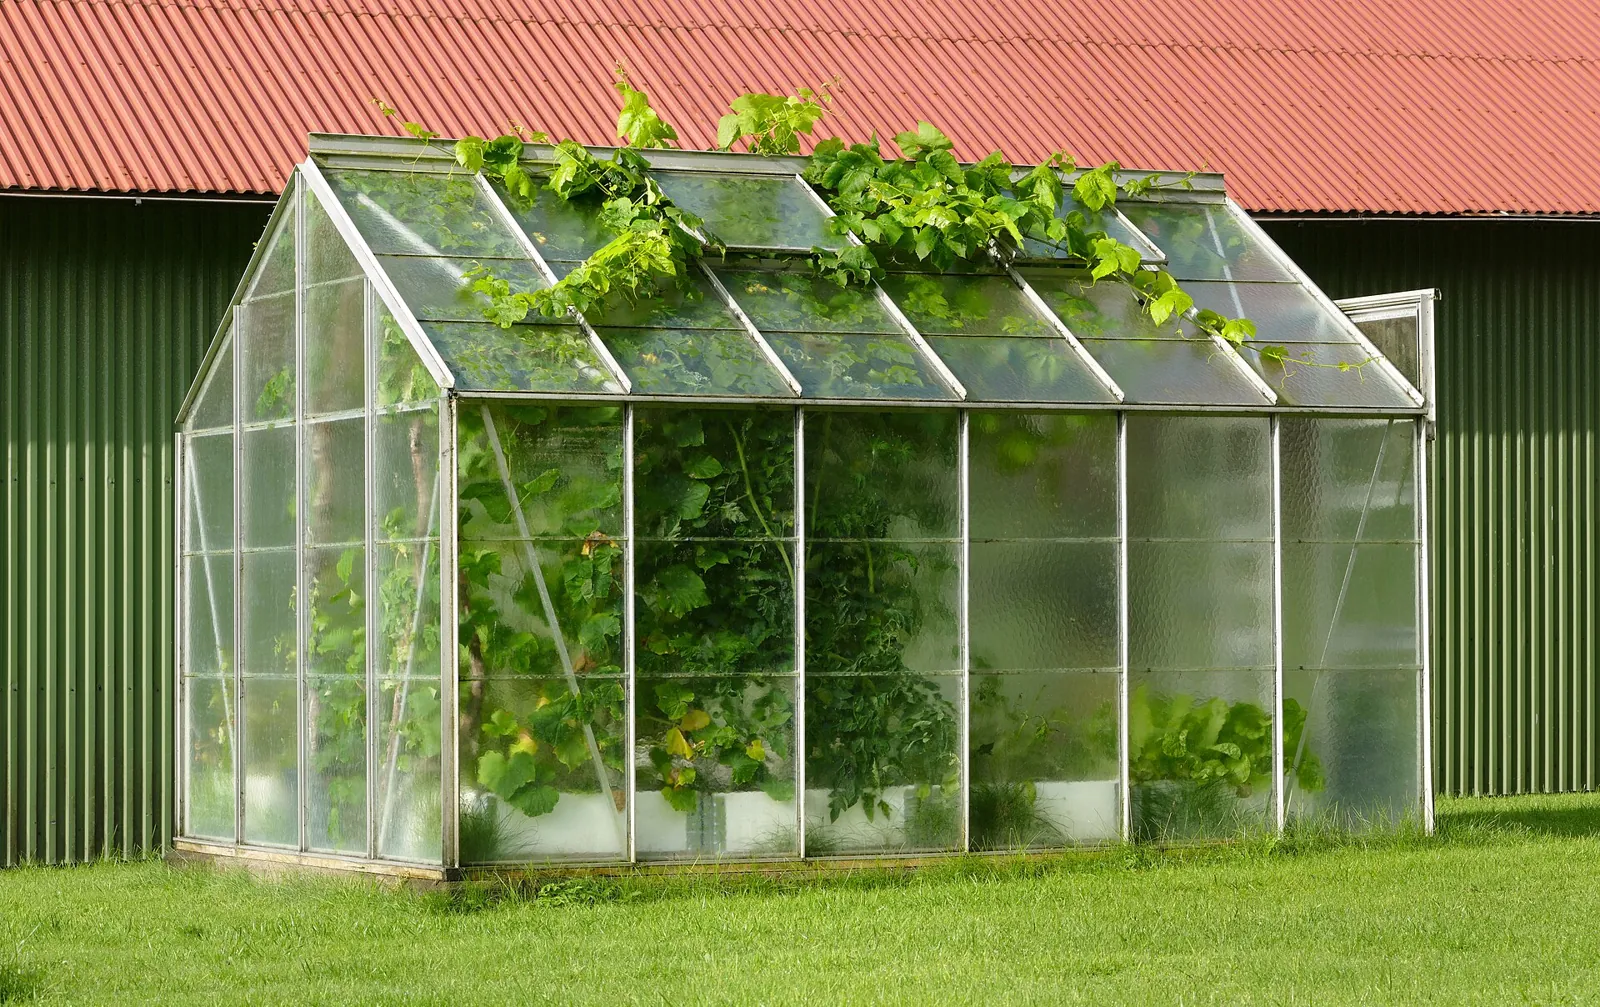
A cold frame is a bottomless box with a clear lid, a miniature greenhouse you can make from found materials. Old windows and doors have built thousands of them. Face the lid south, slope it to catch the low sun, and set it somewhere sheltered.
It earns its keep year-round, which is what makes it the first build. In spring it hardens off transplants, the gradual outdoor adjustment the corpus already schedules:
A seedling raised indoors is set out gradually, not all at once. Moved straight from a windowsill or grow-light into full sun and wind it suffers sunscald, windburn, or transplant shock, because its soft indoor growth has not hardened to outdoor conditions.
If you skip this, it still grows, just less well. The planner suggests it.
How it works: Indoor-raised seedlings grow soft, with a thin cuticle and waxy layer, unlignified stems, and high tissue water, because the light, wind, and temperature swings that toughen a plant are absent indoors. Exposed abruptly to direct sun the thin leaves scald, in wind the soft stems break or desiccate, and the whole plant stalls from the shock. Hardening off (a week or two of increasing daily outdoor exposure) thickens the cuticle and waxy layers, develops lignin in the cell walls, builds carbohydrate reserves, and lowers freeze-prone cell water, so the plant can take the move.
Evidence: checked against 2 sources in the research-based literature.
Hardening is the process of exposing transplants (seedlings) gradually to outdoor conditions. It enables your transplants to withstand the changes in environmental conditions they will face when planted outside in the garden
Plant stems can snap due to strong winds, or leaves can become sunburned from being exposed to direct sunlight
Remedy
Begin about one to two weeks before setting out. Put the seedlings outside in a sheltered, part-shade spot during the mild middle of the day, a few hours at first, and lengthen the time and the sun each day, bringing them in at night; keep them off exposed spots on windy days and when nights fall below about 45 °F, and ease off watering (without letting them wilt) to slow the soft growth. Then transplant.
A frame is that rule made of wood. It also keeps salad greens going weeks past their season at both ends, makes a protected nursery bed for cuttings, and can even store potted things over winter that need cold without punishment.
How do low tunnels and row covers compare?
A low tunnel is the row cover’s sturdier cousin. Hoops of stiff wire (nine or ten gauge, cut into three-to-five-foot lengths and bent into a U) straddle the row, with fabric or slitted clear poly clipped over them. The hoops keep the cover off the leaves, shed rain and snow load, and make the whole thing a two-minute job to open.
The fabric version keeps its second talent too, the one the corpus grades:
Row cover keeps pests off young crops; lift it at bloom for insect-pollinated ones
If you skip this, it still grows, just less well. The planner suggests it.
How it works: Floating row cover is a gauze-like spun sheet laid loosely over the crop and sealed at its edges to the soil, and it stops damage by physical exclusion (the adult insect cannot reach the plant to feed or lay eggs), so the barrier must be continuous from planting, before the pests arrive, with its edges buried against a walking insect; because the same closed barrier also shuts out the bee, a crop whose fruit depends on insect pollination has to be uncovered once its flowers open.
Evidence: checked against 2 sources in the research-based literature.
For insect pollinated vegetables, like the nightshades ... and cucurbits ..., row cover should be removed when female flowers bloom so as to allow pollination to occur.
Some pests overwinter in the soil near host plants, emerging the following spring under a cover. (Examples include the adult flies of root maggots, flea beetles, and Colorado potato beetles.)
Remedy
Cover the bed at planting with the crop still small, drape the fabric loosely with slack to grow into, and bury or weight every edge so the perimeter is sealed. Leave it on through the early weeks when the pest is active. For a crop that needs insect pollination to fruit (squash, cucumber, melon, pumpkin), remove the cover once female flowers begin to bloom so pollinators can reach them; leafy greens, roots, brassicas grown for heads, and self- or wind-pollinated crops can stay covered to harvest. Where the target pest overwinters in the soil under the bed (root maggots, flea beetles, Colorado potato beetle), cover a bed that did NOT grow the same crop, or the pest emerges trapped inside.
The same cover that buys degrees in April is the pest barrier in June. That’s one purchase for two jobs, with the same catch: anything that needs an insect at its flowers must be uncovered when it blooms.
When do I vent, and why does it matter so much?
Every beginner learns this the expensive way. A closed cold frame on a sunny day gets dangerously hot, fast, even when the air outside is cold. Prop the lid open on sunny mornings and close it again toward evening. That rhythm IS cold-frame gardening, and a skipped vent cooks a bed of seedlings by lunchtime. If you can’t be home at those hours, buy the temperature-controlled vent arm that does it for you; it’s the one gadget in this guide that earns its price. Tunnels are more forgiving, since slitted poly vents itself somewhat, but on a warm day, open the ends.
What should I grow under cover?
Match the crop to what the structure provides. The cool-season crowd (lettuce, spinach, radishes, the salad bowl generally) is the natural tenant: already frost-tolerant per the rule above, quick, and happy in the frame’s spring and fall. The warm-season gamble, a cloched tomato out a few weeks early, works when the SOIL under the cloche has warmed. Warm air alone isn’t enough. That’s the mechanism the bean rule stated, and it’s the real test of any early setout. When in doubt, a soil thermometer settles what a calendar can’t, and your frost dates still set the frame the whole gamble plays inside.
Further reading
Good places to read more about the technique on this page. The grade on each card comes from that card’s own sources.